




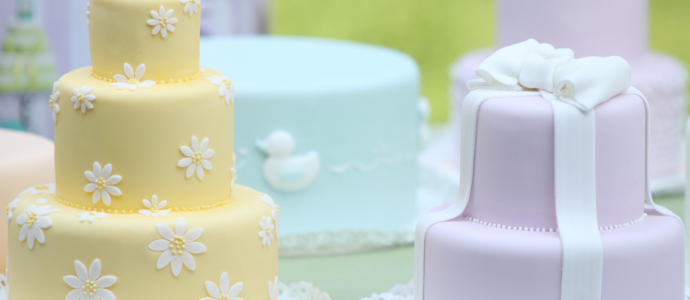
 Cake design brings together baking, structure and decoration. A successful decorated cake is not just attractive: the sponge, filling, coating and support must work as one project. This guide explains the main tools and techniques, how to choose fondant and food colours, and how to plan cookies, cupcakes, cake pops and display cakes.
Use it as an orientation guide rather than as a substitute for the instructions supplied with a product. Ingredients, allergens, food-contact suitability, dimensions and operating methods vary by item, so always check the current label and product page before buying or using anything.
The sections are organised around real purchase decisions: which tools make each job easier, what to check before covering a cake, how colour formats differ, and which supports or boxes suit the finished project. Each recommendation remains conditional on the specifications of the individual product.
Cake decorating tools: what you actually need
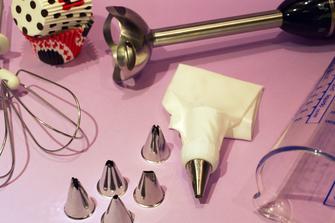 A practical starter kit does not need every tool on the market. Begin with a smooth work surface, accurate scales, two or three reliable spatulas, a rolling pin, a turntable and a small set of modelling tools. Add specialist equipment only when the decoration calls for it. Our pastry and cake decorating tools section helps you compare the individual product specifications.
Rolling pins, silicone mats and turntables
A non-stick rolling pin and a clean silicone mat make it easier to roll fondant evenly. Choose the rolling-pin length according to the diameter of the cake: a tool that is too short makes it difficult to keep a large sheet level. Browse fondant rollers and pastry wheels by size and intended use.
A cake turntable lets you keep your hand position steady while the cake moves. This is particularly useful for smoothing buttercream, aligning a fondant edge and piping a continuous border. Check stability, usable diameter and whether the surface is designed for direct food contact or for use beneath a cake board.
Modelling tools, cutters and piping equipment
Ball tools, veiners, scribers and small blades are designed for different modelling tasks. A compact set is enough for petals, faces, seams and simple figures. For biscuits and repeated fondant shapes, cookie cutters and pastry cutters give a more consistent result than cutting freehand.
Piping bags and nozzles are used for filling, borders, lettering and fine royal-icing work. Match the nozzle opening to the consistency of the mixture and avoid forcing a stiff icing through a very small tip. Reusable and disposable bags have different cleaning and handling requirements; follow the product instructions.
How to build a cake for fondant
A fondant cake is assembled in stages: bake a suitable base, level and fill it, allow it to settle, apply a stable outer coating, cover it, then add decorations and supports. Planning these stages reduces bulges, cracks and last-minute handling problems.
Choose and prepare the cake layers
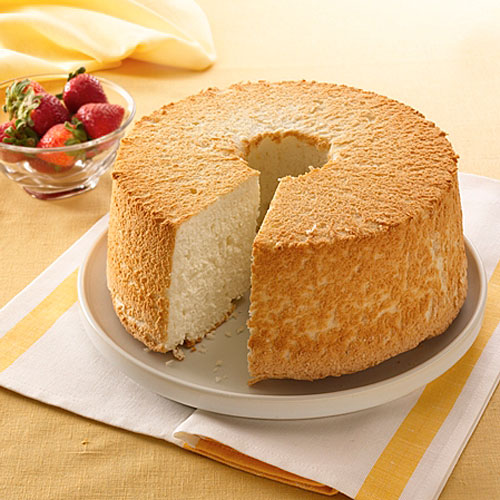 The base must be fully baked, cool and strong enough for the planned height and filling. Sponge Cake, Victoria-style sponge and other structured layers are common choices; a very delicate cake may need extra support or a lighter decoration. The size of the tin changes the depth and therefore the baking time, so do not transfer a time from one pan to another without checking the centre.
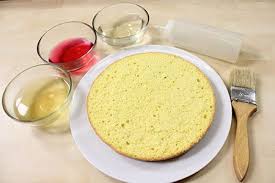
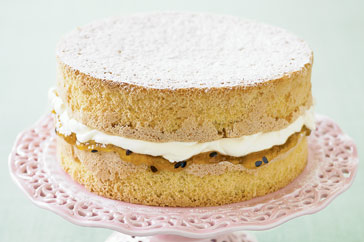 Level each layer before assembly. A small amount of syrup can add flavour and moisture, but too much liquid weakens the crumb. If you use a commercial cake soaking syrup, follow its dilution and storage directions rather than assuming that every syrup is ready to use.
Filling and settling
 Pipe or spread an even layer of filling and keep it away from the outer edge if it is soft. A firmer dam can help contain loose fillings. Chill the assembled cake for the time required by the filling, while observing food-safety instructions for dairy, egg and other perishable ingredients.
High cakes should be assembled on a rigid board from the beginning. Measure the finished diameter, not just the tin, because coatings and decorations increase the size.
Crumb coat and ganache
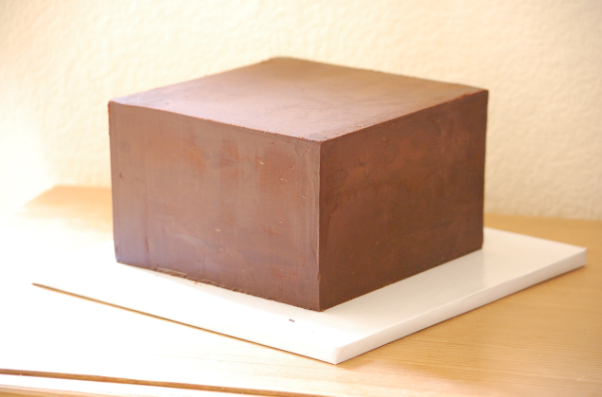 A crumb coat traps loose crumbs and creates a regular surface. Buttercream and chocolate ganache are common options, but their firmness changes with the recipe and room temperature. Apply a thin first layer, chill if appropriate, then add only what is needed to correct the shape.
Use a straight scraper against the turntable and work gradually. Sharp edges come from repeated light passes, not from pressing hard into a soft cake. White fondant over dark ganache may require a sufficiently opaque layer; test a small area first.
Rolling and applying fondant
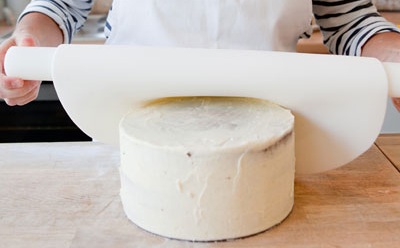 Knead fondant until pliable and roll it to an even thickness on a clean surface. The amount and thickness depend on the product, the cake diameter and the desired finish. Avoid treating a single thickness as universal: some covering pastes are designed to roll thinner than others.
Transfer the sheet without stretching it, centre it over the cake and smooth the top before working down the sides. Release folds progressively and trim only after the fondant sits correctly. The fondant and sugar paste category includes covering, modelling and pre-rolled options; compare the individual description before choosing.
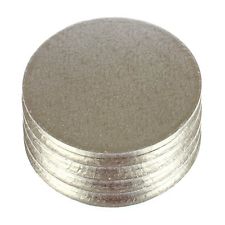 A rigid cake board protects the base and makes transport safer. Select a diameter that leaves enough room for borders or lettering. For heavy or tiered cakes, check board thickness and load rather than choosing by colour alone.
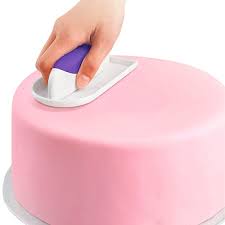 A flat smoother helps remove hand marks; two smoothers can be used together on top and side to refine an edge. Work before the surface dries and stop if repeated rubbing begins to damage the paste.
Food colours for cake decorating
Colour format matters. Powder, gel, paste, liquid, spray and airbrush colours do not behave in the same way, and not every decorative dust is edible. Always read the label for permitted use, dosage, allergens and whether the product is a food colour or a decoration that must be removed.
Powder colours
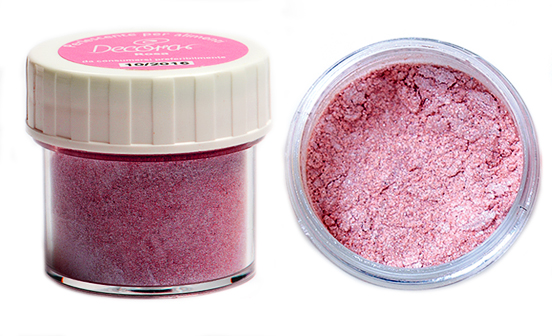 Powders are useful when little added moisture is desirable. Depending on the specific product, they may colour dry mixes, chocolate-compatible preparations, fondant or painted details. Some are designed for dry brushing, while others are dispersed in an appropriate liquid. The product directions determine the method.
Gel and paste colours
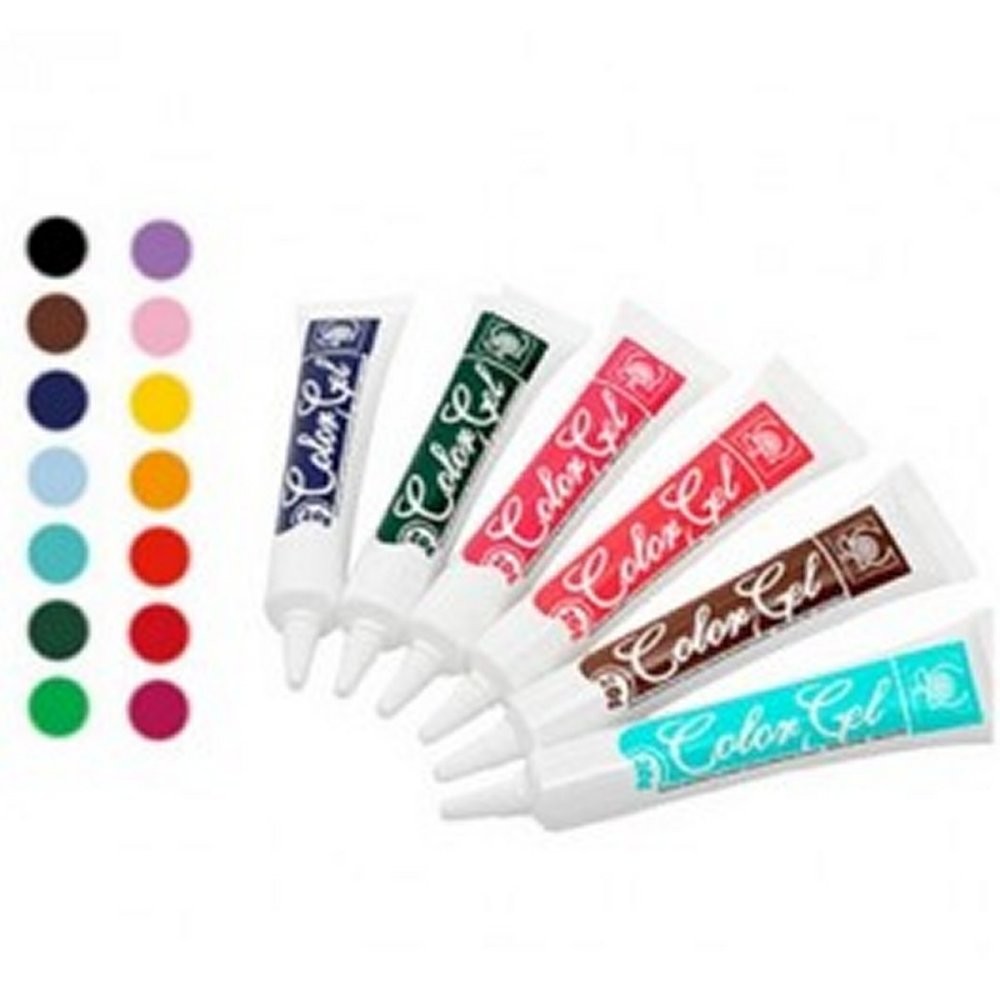 Gel and paste colours are concentrated and are often selected for fondant, buttercream and thicker batters. Add a small amount, mix thoroughly and allow the colour to develop before adding more. Very large additions can change texture or flavour.
Spray colours
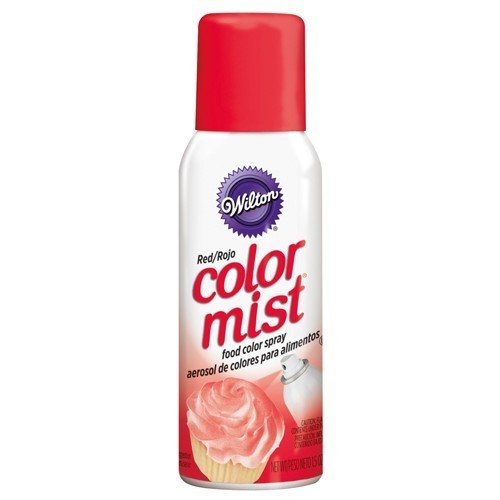 Sprays can create an even tint or a gradient on a prepared surface. Protect the surrounding area, keep the distance stated on the container and use several light passes rather than one heavy coat. Check ventilation and all safety information on the aerosol.
Metallic colours and glitter
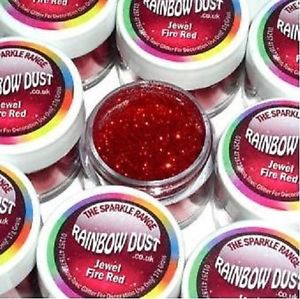 A metallic appearance does not prove that a product is edible. Confirm that the label identifies it as an authorised food colour for the intended use. Decorative powders marked non-edible or for display only must be used exactly as directed and kept on removable elements.
Liquid and airbrush colours
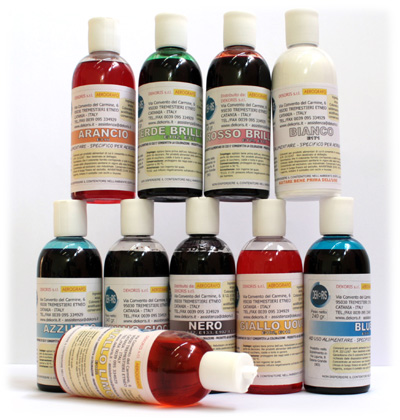 Liquid colours disperse easily in fluid mixtures, but the added water may soften fondant or alter a sensitive recipe. They are not automatically interchangeable with gels.
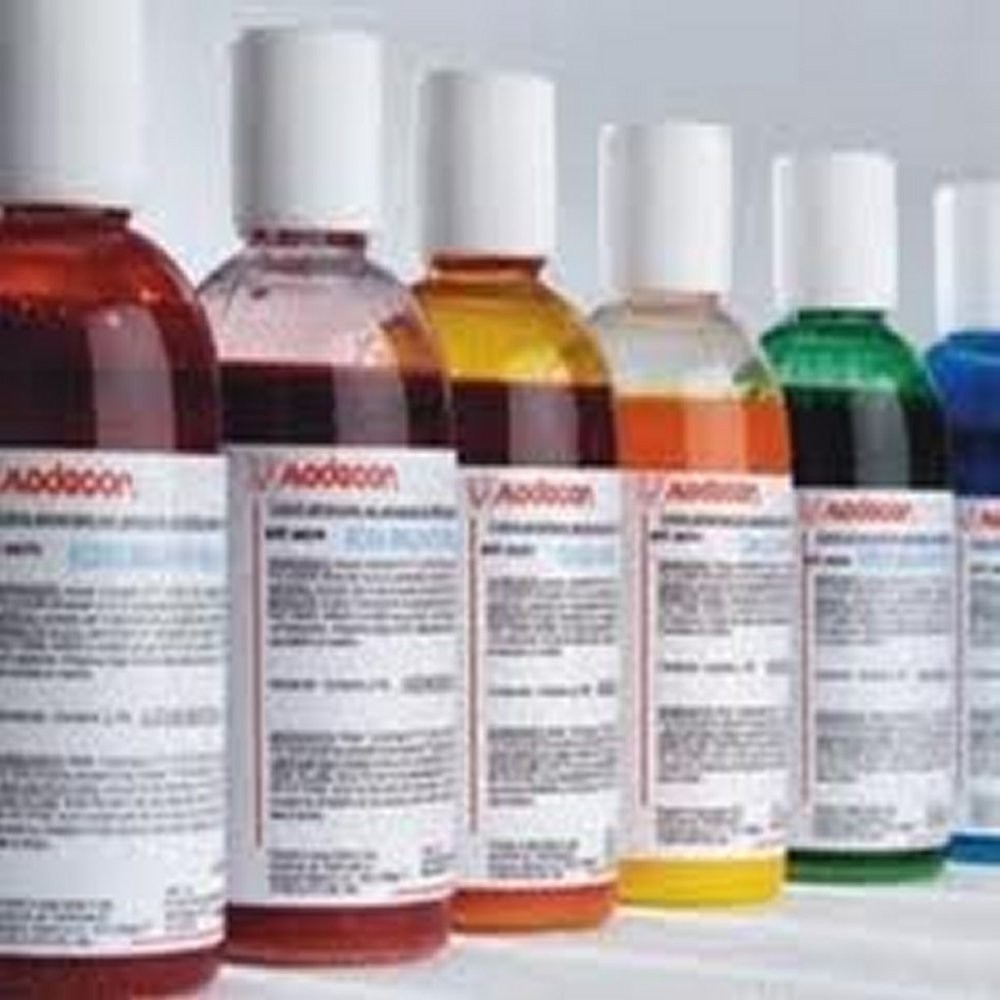 Airbrush colours must be formulated for the equipment and suitable for food use. Strain or dilute only if the manufacturer allows it, keep the nozzle clean and test pressure and distance on a spare surface. Compare the current range of food colours by format and label.
Boxes, boards and cake stands
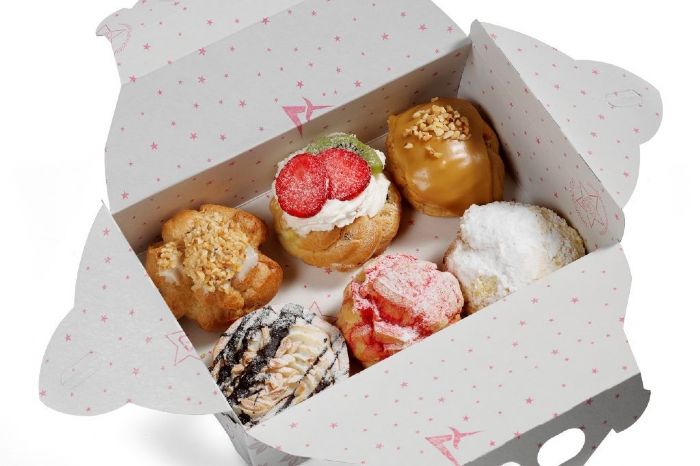 Measure the complete cake, including board, topper and side decorations, before choosing a box. Leave clearance around fragile details and make sure the base cannot slide. Tall or tiered designs may require a purpose-made high box rather than two improvised boxes joined together.
Explore cake boxes and wrapping supplies by internal dimensions. The listed external dimension may not be the usable space, so check the product sheet.
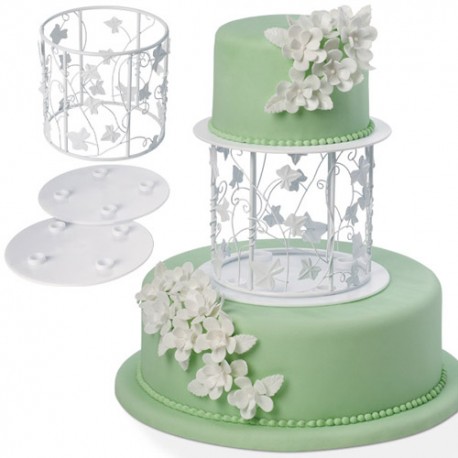 Supports between tiers must be planned as a system: a board beneath each upper cake and food-suitable dowels below it. Decorative separators and stands do not replace structural support unless their product information explicitly says so.
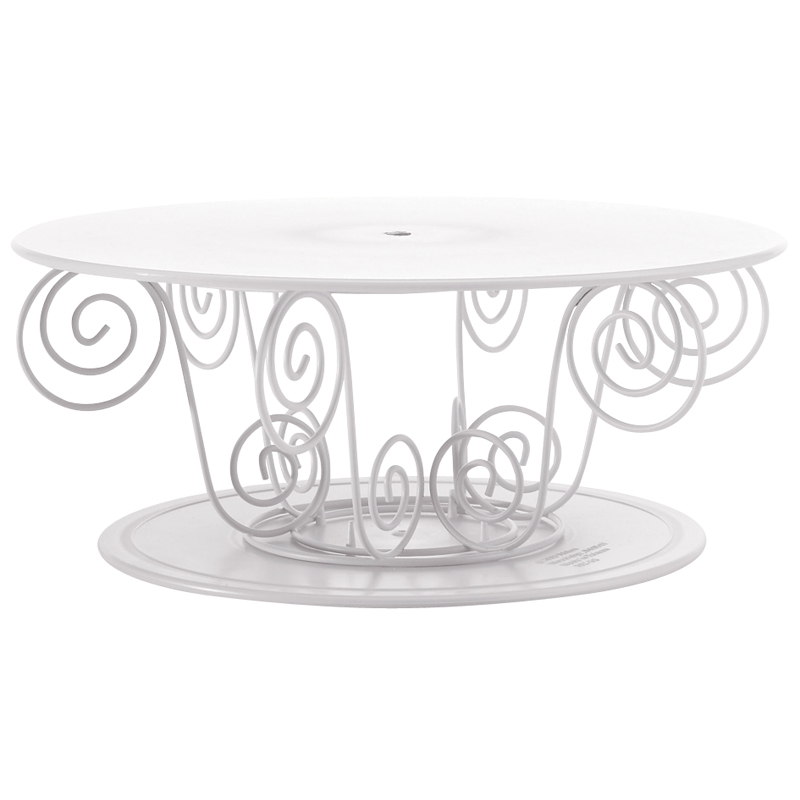 A cake stand improves presentation but must suit the weight and footprint of the dessert. Check material, diameter, assembly and cleaning directions. Browse cake stands without assuming that every model is suitable for a heavy tiered cake.
Decorated cookies and choosing fondant
 Cookies can be decorated with royal icing, fondant pieces or a combination of techniques. Use the same cutter for the baked cookie and the fondant topper when you want matching outlines. Let the biscuit cool completely before decorating and follow the storage guidance for the chosen icing.
Covering fondant, modelling paste and pre-rolled sheets serve different purposes. Covering paste needs flexibility; modelling paste is expected to hold detail and dry more firmly. Product formulation, allergens and drying time belong to the individual item, not to the brand as a whole. Choose by the job and verify the current label.
Cupcakes and cake pops
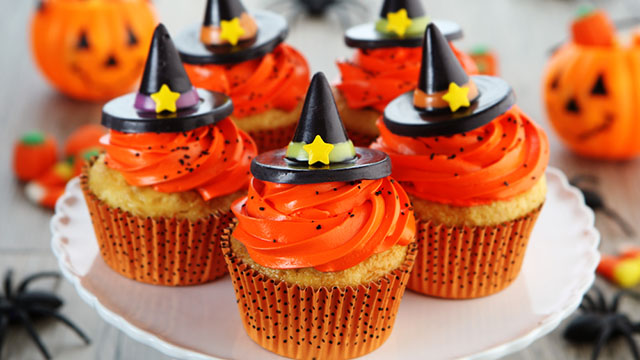 Cupcakes can echo the main cake through colour, piping style or small toppers. Select cupcake and muffin cases that are explicitly suitable for baking if they will go into the oven; presentation wrappers are not necessarily oven-safe.
Cake pops combine cake crumbs with a binder, are portioned on sticks and are usually coated before decoration. Use cake-pop sticks according to their material and intended use. Plastic sticks must not be placed in the oven unless the product instructions expressly allow it.
Sprinkles, sugar pearls and small decorations add texture, but their ingredients and edibility must be confirmed per product. For a celebration display, cake candles and numbers should be positioned so they can be removed easily before serving.
Dummy cakes and display projects
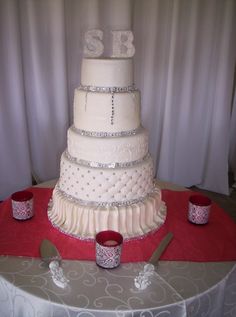 A dummy cake uses a shaped polystyrene base instead of baked cake. It is useful for practice, shop displays and decorative tiers, but it must not be confused with an edible layer. Keep display materials isolated from food and select cake dummy bases with clean, well-defined edges.
Fondant can be attached to a dummy using a method appropriate to the covering paste and the display purpose. Once dry, the surface can be decorated with flowers, ribbons or figures. If a dummy is combined with real cake, use a verified food barrier and a structure that prevents contact or contamination.
 A topper is a visual element, not structural support. Check whether it is edible, food-contact suitable or intended to be inserted through a protective pick. The cake topper and sugar flower mould sections cover different ways to finish the design.
Books, practice and recipe planning
 A reliable method matters more than collecting isolated tricks. Record tin size, batter weight, oven setting, actual baking time and final result. This makes it easier to repeat a cake and to understand which change caused a different texture.
The following recipes are controlled starting points. Weights, pan sizes and methods are stated together; nevertheless, ovens and ingredients vary. Check the centre of every cake and refrigerate perishable creams and finished cakes promptly.
Basic pastry and cake design recipes
Italian sponge cake (Pan di Spagna)
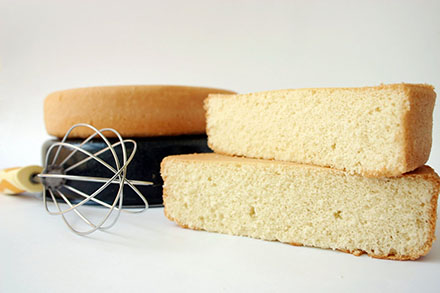 For one 24 cm round tin: 5 medium eggs at room temperature, 150 g caster sugar, 75 g plain flour, 75 g potato starch, vanilla and a pinch of salt.
Whip the eggs, vanilla, salt and gradually added sugar for 15-20 minutes, until pale, voluminous and thick enough to fall in ribbons. Fold in the sifted flour and starch gently. Pour into a greased and floured tin and bake in a preheated conventional oven at 160°C for about 50 minutes, checking the centre. Cool completely before slicing.
Pastry cream
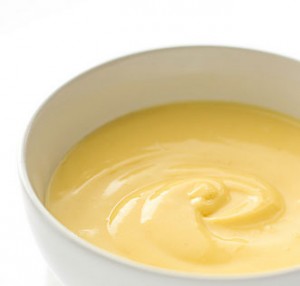 For about 750 g: 500 g whole milk, 130 g sugar, 125 g egg yolks (about seven), 40 g rice starch, vanilla and the zest of half an unwaxed lemon.
Heat the milk with vanilla and lemon zest. Mix yolks and sugar, then blend in the starch. Add the hot milk gradually, return everything to the heat and whisk continuously until evenly thickened. Transfer immediately to a clean, shallow container, cover the surface and chill rapidly. Keep refrigerated.
Red Velvet cake
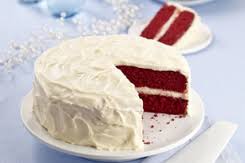 For two 20 cm tins: 113 g softened butter, 266 g sugar, 2 large eggs, 28 g red liquid food colour, 14 g cocoa, 1 teaspoon each salt, bicarbonate of soda and cider or white vinegar, 270 g plain flour and 227 g buttermilk or non-Greek plain yoghurt.
Beat butter and sugar, then add the eggs one at a time. Mix in colour, cocoa, salt, bicarbonate and vinegar. Add flour alternately with buttermilk, beginning and ending with flour. Divide between lined tins and bake at about 175°C conventional for 25-30 minutes, checking the centre. Cool before filling.
For cream-cheese frosting, beat 85 g softened butter with 227 g cream cheese and vanilla. Add 397 g icing sugar gradually and only enough milk to adjust the texture. Frost cold layers and keep the finished cake refrigerated.
Rainbow Cake
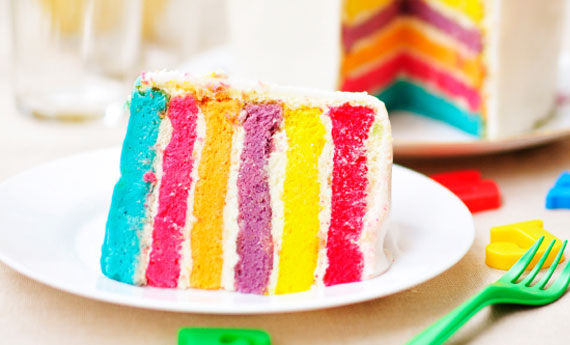 For six 20 cm layers, make the following batch three times: 125 g softened butter, 225 g self-raising flour, 150 g caster sugar, 3 medium eggs, 1 teaspoon baking powder, a pinch of salt, vanilla, and up to 1 tablespoon milk if required. Use six food-grade gel colours.
Mix until smooth, weigh into two equal portions and colour separately. Bake each pair at 180°C conventional or 160°C fan for 15-20 minutes, until a skewer comes out clean. Cool every layer. Briefly mix 750 g full-fat cream cheese or mascarpone with 350 g icing sugar and vanilla, then stack the layers in colour order and refrigerate.
Sponge Cake
For two 20 cm tins: 225 g softened butter, 225 g caster sugar, 4 large eggs, 225 g self-raising flour, the zest of half a lemon, 1 teaspoon vanilla, a pinch of salt and a little milk if needed.
Beat butter and sugar until pale and fluffy. Add the eggs one at a time, then combine with zest, vanilla, flour and salt. Add only enough milk for a soft dropping consistency. Divide between lined tins and bake at 180°C conventional or 160°C fan for 25-30 minutes. Check the centre and cool on a rack.
Quick buttercream
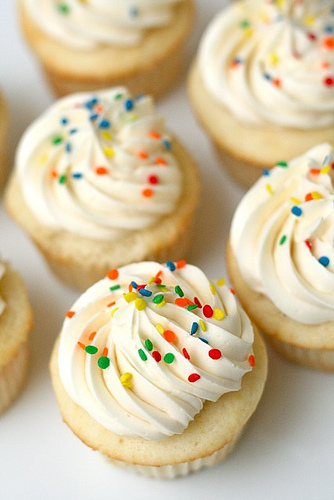 Use 113 g softened butter, 283-340 g sifted icing sugar, 28-57 g milk, vanilla and a pinch of salt. Beat the butter until fluffy, add salt and vanilla, then work in the sugar gradually with the minimum amount of milk. Adjust with a little more milk or icing sugar until spreadable.
Chocolate ganache
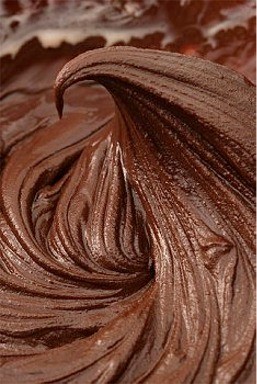 Use 227 g double cream and 283-454 g chopped dark or semisweet chocolate, depending on the required firmness. Heat the cream until it begins to steam, pour it over the chocolate and wait five minutes. Stir slowly, then more firmly, until glossy. Use while still workable but beginning to thicken.
Recipe sources
The recipes were checked against GialloZafferano's Pan di Spagna and pastry cream; the King Arthur Baking test kitchen for Red Velvet, quick buttercream and ganache; and Good Food for Rainbow Cake and Sponge Cake.
